How to compress images without losing quality — free online tool

· Updated
By ToolsRacks Team · Image Tools
Large image files slow down your website and hurt SEO. Learn how to compress images without losing quality — free, instant, no signup needed.
Images account for 50–75% of a webpage's total file size. If your website is loading slowly, oversized images are almost certainly the reason. In 2025, with Google's Core Web Vitals directly affecting search rankings, learning how to compress images without losing quality is one of the highest-impact SEO optimisations any website owner can make — and it takes less than 60 seconds with the right tool.
The frustrating part is that most writers and bloggers upload images straight from their camera or design software without any optimisation. A single uncompressed hero image can be 4–6MB — enough to push your page load time past 5 seconds and quietly destroy your search rankings without you realising it.
In this guide, we cover exactly how image compression works, which formats to use, and how to use the ToolsRacks Image Compressor to reduce your file sizes by up to 80% — completely free, no account required, and no quality loss visible to the human eye.
What is image compression?
Image compression is the process of reducing a digital image's file size by eliminating redundant or unnecessary data. The goal is to make image files as small as possible while keeping them visually indistinguishable from the original — so your pages load faster without your visitors noticing any difference in quality.
There are two main types of image compression, and understanding the difference helps you choose the right approach for each image you publish.
Lossy compression
Lossy compression permanently removes some image data to achieve significant file size reductions. At moderate compression levels (70–85% quality), the quality loss is completely imperceptible to the human eye. A 4MB JPEG photograph compressed with lossy compression at 80% quality typically comes out at 400–600KB — a 85% reduction with no visible difference. Lossy compression is best for photographs and hero images in JPG or JPEG format.
Lossless compression
Lossless compression reduces file size without removing any image data. The decompressed image is pixel-for-pixel identical to the original. File size reductions are smaller than lossy — typically 20–40% — but there is absolutely zero quality loss. Lossless compression is best for PNG files such as logos, icons, screenshots, and graphics with transparent backgrounds.
Why compressing images matters for SEO in 2025
Image optimisation is no longer just a performance best practice — it is a direct Google ranking factor. Here is why every website owner needs to compress images before publishing:
- Core Web Vitals and LCP: Google's Largest Contentful Paint (LCP) measures how long the main image or content block on your page takes to load. Uncompressed images are the most common cause of poor LCP scores. Pages that fail Core Web Vitals are actively pushed down in search rankings.
- Page speed as a ranking signal: Google has used page speed as a ranking factor since 2010 — and its weight has only increased. According to Google's own data, as page load time increases from 1 to 5 seconds, the probability of a mobile visitor bouncing increases by 90%.
- Mobile-first indexing: Google indexes and ranks your site based on its mobile version. Mobile connections are slower than desktop, which means unoptimised images hurt your mobile rankings disproportionately.
- User experience signals: Research shows that 53% of mobile users abandon a page that takes more than 3 seconds to load. High bounce rates signal poor content quality to Google — even if your actual content is excellent.
- Bandwidth and hosting costs: Compressed images consume less bandwidth. If you are on a shared hosting plan or paying for CDN bandwidth, image optimisation directly reduces your monthly costs.
- Storage efficiency: Compressed images take less space on your server and cloud storage, which matters when you are managing a large content library with hundreds of posts and images.
How to compress images without losing quality — step by step
Using the ToolsRacks free image compressor takes under 30 seconds. Here is the exact process:
- Open the tool: Go to toolsracks.com/image-compressor — no account or signup required.
- Upload your image: Click to browse your files or drag and drop your JPG, PNG, or WebP image directly onto the tool. The tool accepts all common image formats.
- Set your compression level: Choose your quality setting. For blog photographs, 75–85% is the sweet spot — maximum file size reduction with no visible quality loss. For logos and graphics, use lossless mode.
- Preview and compare: The tool shows you the original file size versus the compressed file size before you download. You can visually compare the two images to confirm quality is preserved.
- Download your compressed image: Click Download to save the optimised file. It is ready to upload to your website or CMS immediately.
- Repeat for all images: Make image compression part of your standard workflow — compress every image before it goes into your media library.
Real example: a 3.8MB PNG screenshot was compressed to 430KB using the ToolsRacks compressor at 80% quality — an 89% reduction with no visible quality difference at normal screen viewing size.
Best image formats for the web in 2025
Choosing the right format before compressing makes a significant difference to your final file size. Here is what to use for each type of image:
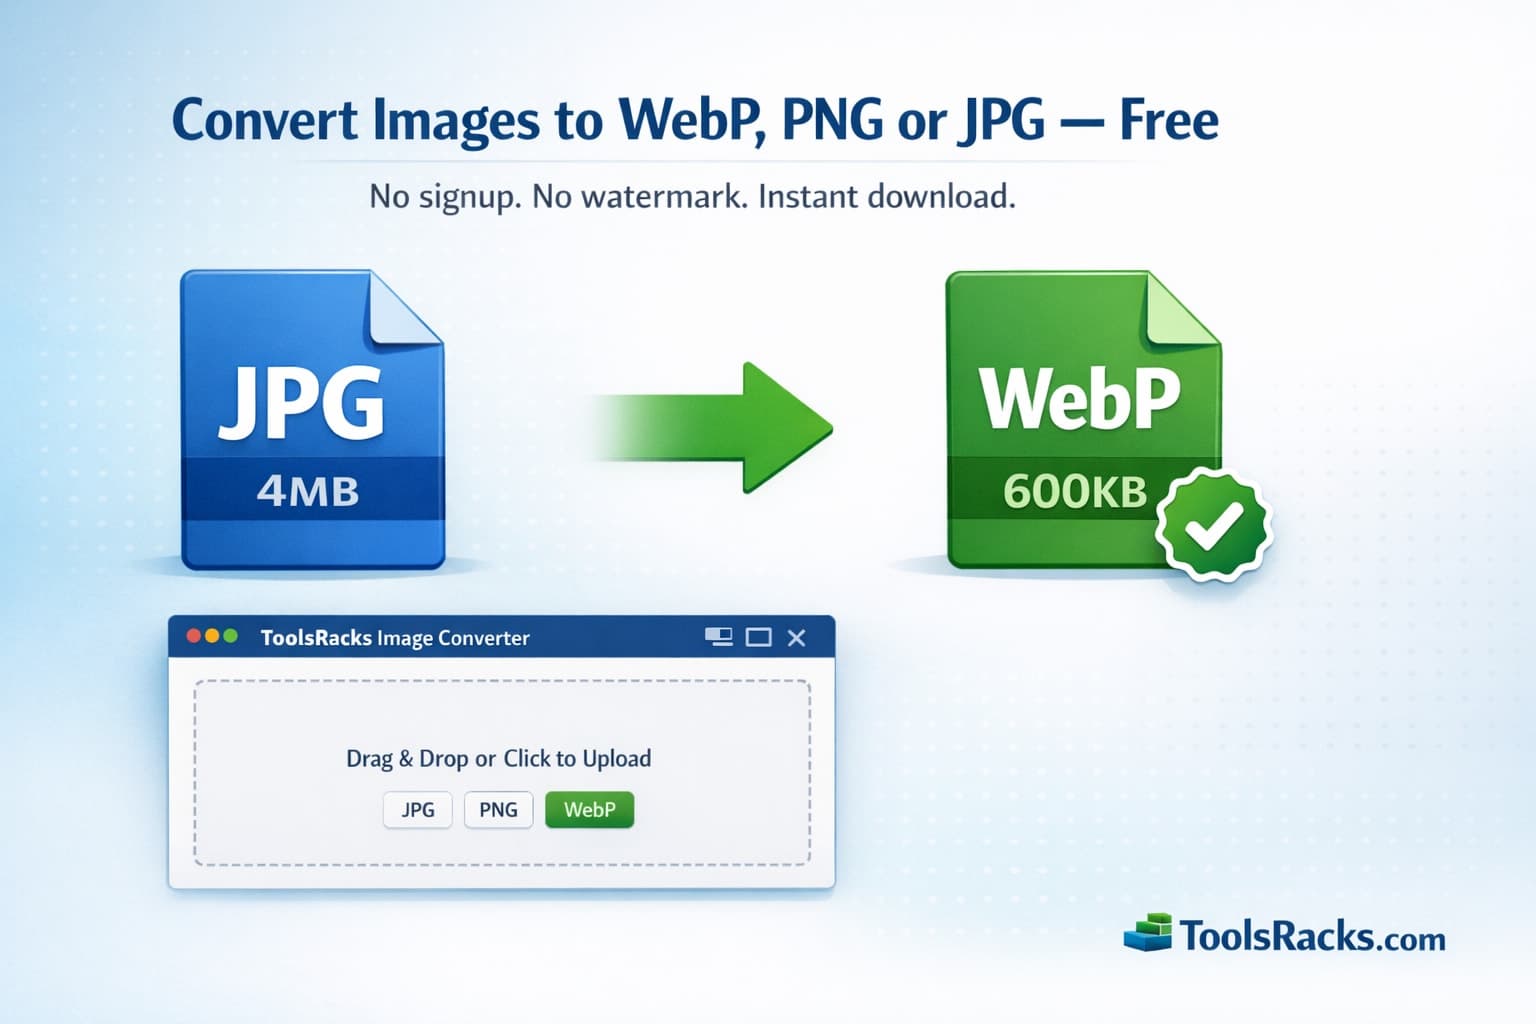
- WebP: The best all-round format for web images in 2025. WebP delivers 25–35% smaller files than equivalent JPEG or PNG at the same quality. Supported by all modern browsers. Use for photographs, hero images, and blog graphics. Convert your existing JPG and PNG files using the ToolsRacks Image Converter.
- JPG/JPEG: Best for photographs and images with complex colour gradients. Use lossy compression at 75–85% quality for the best balance of file size and visual quality.
- PNG: Best for logos, icons, screenshots, and any image that requires a transparent background. Use lossless compression to preserve sharp edges and text.
- AVIF: The next-generation format with the best compression ratio currently available — up to 50% smaller than WebP. Browser support is growing but not yet universal. Use as a progressive enhancement where supported.
- SVG: Best for icons and simple illustrations. SVG files are resolution-independent and typically very small — no compression needed.
Image compression tips for bloggers and developers
Resize images before compressing
Compression reduces file size, but resizing reduces pixel dimensions — and both matter. If your blog displays images at 800px wide, there is no reason to upload a 4000px wide image. Use the ToolsRacks Image Resizer to scale your images to their actual display dimensions before compressing. Resizing a 4000px image to 800px before compression can reduce file size by 70% before the compressor even runs.
Use lazy loading for images below the fold
Add loading="lazy" to all <img> tags that appear below the visible screen area. This tells the browser not to load those images until the user scrolls down to them — reducing initial page load time significantly. Most modern CMS platforms including WordPress support this natively.
Always specify image dimensions in HTML
Include width and height attributes on every <img> tag. This prevents Cumulative Layout Shift (CLS) — another Core Web Vitals metric — where page content jumps around as images load. CLS issues directly hurt your Google rankings and create a poor reading experience.
Compress at export from design tools
If you create images in Photoshop, Figma, or GIMP, use the Export for Web or Save for Web option and set quality to 75–80% at export time. This gives you a pre-optimised starting file that the ToolsRacks compressor can reduce even further.
Audit your existing image library to compress images without losing quality at scale
If your website has been running for months or years, it likely has hundreds of unoptimised images already uploaded. Tools like Google PageSpeed Insights will show you exactly which images on each page need optimisation — work through your highest-traffic pages first for the biggest SEO impact.
Common image compression mistakes to avoid
- Over-compressing images: Setting compression too aggressively (below 60% quality) causes visible pixelation, colour banding, and blurry edges — especially around text and sharp lines. Stay between 75–85% for photographs and use lossless for graphics.
- Compressing already-compressed images: Running a previously compressed JPEG through a compressor again degrades quality further without meaningful file size reduction. Always compress from the original source file.
- Uploading the wrong format: Using PNG for photographs and JPEG for logos is one of the most common mistakes. PNG photos are typically 5–10x larger than equivalent JPEGs. Match the format to the image type.
- Skipping compression on small images: Even a 200KB image compressed to 40KB adds up across 50 images on a page. Every kilobyte counts — compress all images, not just the large hero images.
- Not checking results after compression: Always view your compressed image at full size before uploading. What looks acceptable as a small thumbnail can show visible quality loss at full resolution.
Why use the ToolsRacks image compressor?
There are many image compression tools available, but most either require a paid subscription, have file size limits, or upload your images to remote servers. Here is what makes ToolsRacks the right choice:
- Completely free: No subscription, no credit system, no hidden upgrade required. Free to use as many times as you need.
- No signup required: Upload and compress immediately — no account creation, no email verification, no login wall.
- Browser-based and private: Your images are processed directly in your browser. Files are never uploaded to external servers and are never stored or shared.
- Supports all major formats: JPG, PNG, WebP — all common web image formats are supported.
- Batch processing: Compress multiple images at once — each processed independently at your chosen quality setting.
- Instant preview: Compare original and compressed images side by side before downloading, so you always know exactly what you are getting.
Frequently asked questions
How much can I compress an image without losing quality?
For JPEG photographs, a quality setting of 75–85% typically reduces file size by 60–80% with no visible quality loss at normal viewing sizes. Results vary depending on image content — photos with complex textures compress better than images with large flat colour areas. Always preview before downloading.
Which image format compresses the best?
WebP offers the best compression ratio for web images in 2025 — typically 25–35% smaller than an equivalent JPEG or PNG at the same visual quality. AVIF compresses even better but browser support is not yet universal. For most websites, converting images to WebP using the ToolsRacks Image Converter is the single highest-impact image optimisation step you can take.
Is the ToolsRacks image compressor really free?
Yes, completely free. There is no subscription, no file size limit on free use, no watermarks added to compressed images, and no account required. Compress as many images as you need.
Are my images stored after compression?
No. All compression processing happens directly in your browser. Your images are never uploaded to ToolsRacks servers and are never stored, logged, or shared. Your files remain entirely private.
How does image compression affect Google rankings?
Image compression improves your page load speed and Core Web Vitals scores — both of which are direct Google ranking factors in 2025. Faster pages rank higher, have lower bounce rates, and deliver better user experience. Compressing images is one of the fastest and most measurable SEO improvements you can make to an existing website.
Can I compress images for free without losing any quality at all?
Yes — using lossless compression mode. Lossless compression reduces file size by 20–40% without removing any image data. The decompressed image is pixel-for-pixel identical to the original. This is the recommended mode for logos, icons, screenshots, and PNG graphics where sharp edges and exact colours must be preserved.
Conclusion
Compressing images before publishing is one of the simplest, fastest, and most impactful optimisations you can make for your website's speed, SEO rankings, and user experience. In 2025, with Core Web Vitals directly affecting Google rankings and mobile users abandoning slow pages in seconds, there is no reason to skip the step to compress images without losing quality before every upload. The process takes under 30 seconds per image and the results — faster load times, better rankings, and lower bandwidth costs — compound with every piece of content you publish.
Start with your next upload. Use the ToolsRacks free image compressor right now — no account needed, instant results, and up to 80% smaller file sizes with zero visible quality loss.